
Installing WSL2 + Ubuntu from Scratch
Before You Start
You can think of WSL as a lightweight VM that gives much better local file interaction than VMware under Windows.
Note: after installing a Linux subsystem, if you later upgrade Windows from Home to Pro, subsystem file corruption can happen. Please keep backups.
Installing WSL
Enable Required Features
Open: Windows Settings -> System -> Optional features -> More Windows features
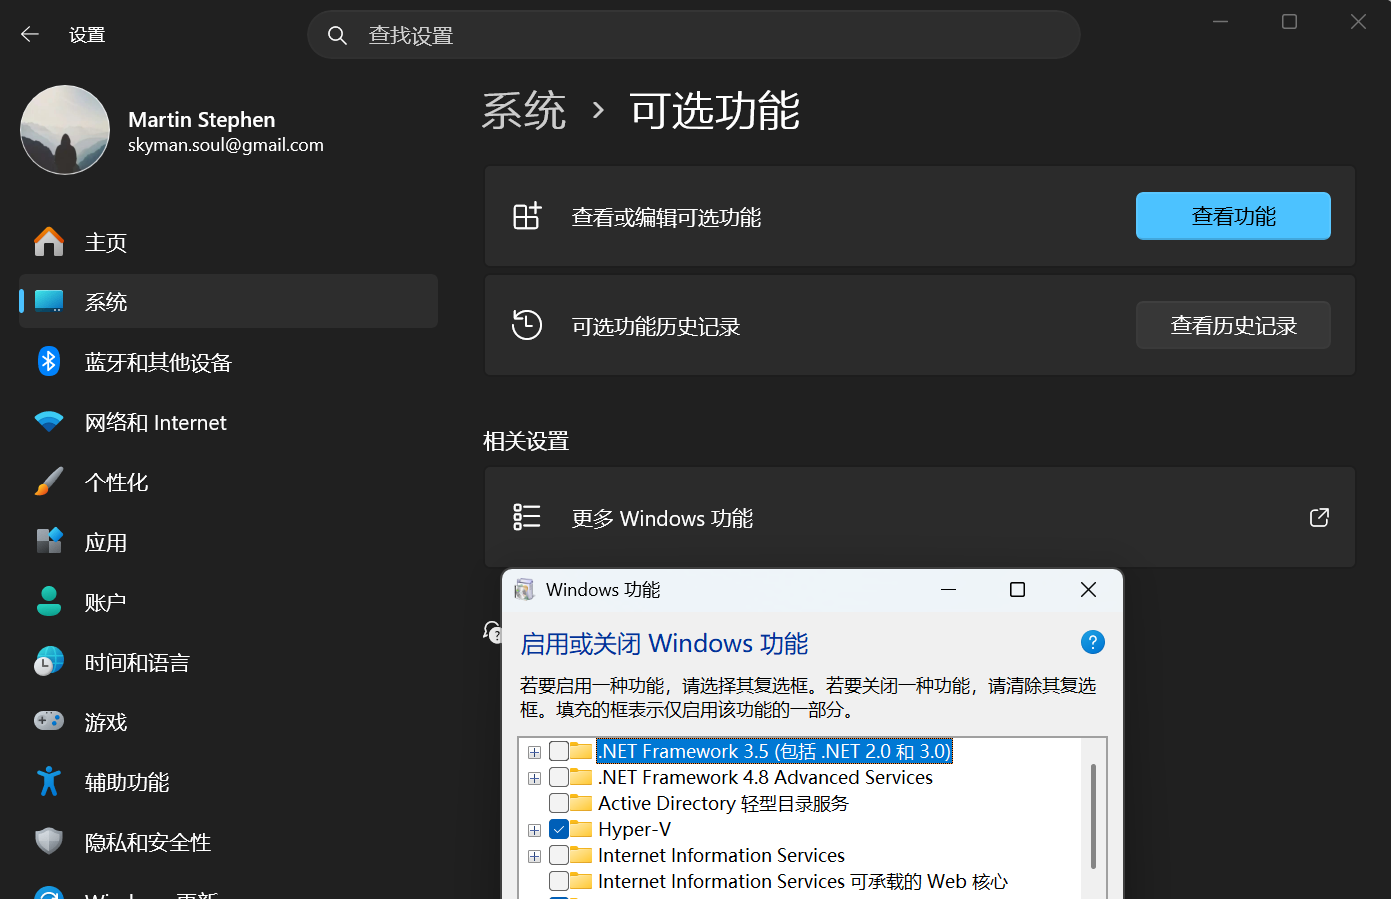
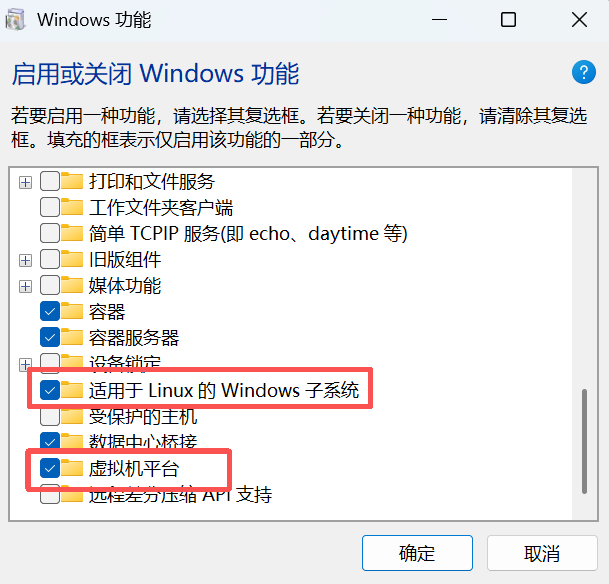
Enable Windows Subsystem for Linux and Virtual Machine Platform, then click OK. Windows will install these features and ask for a reboot.
Install WSL Ubuntu
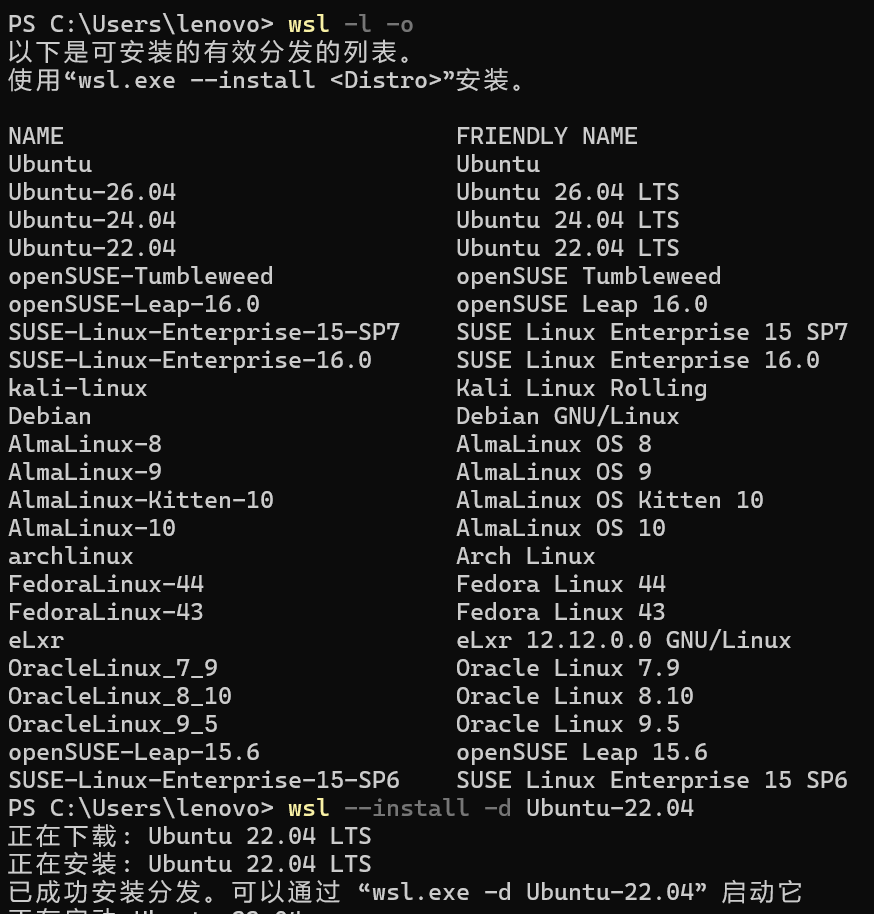
Open a terminal and run:
wsl --install -d Ubuntu-22.04
The system will automatically pull Ubuntu 24.04 in this setup, so just wait for the progress to finish.
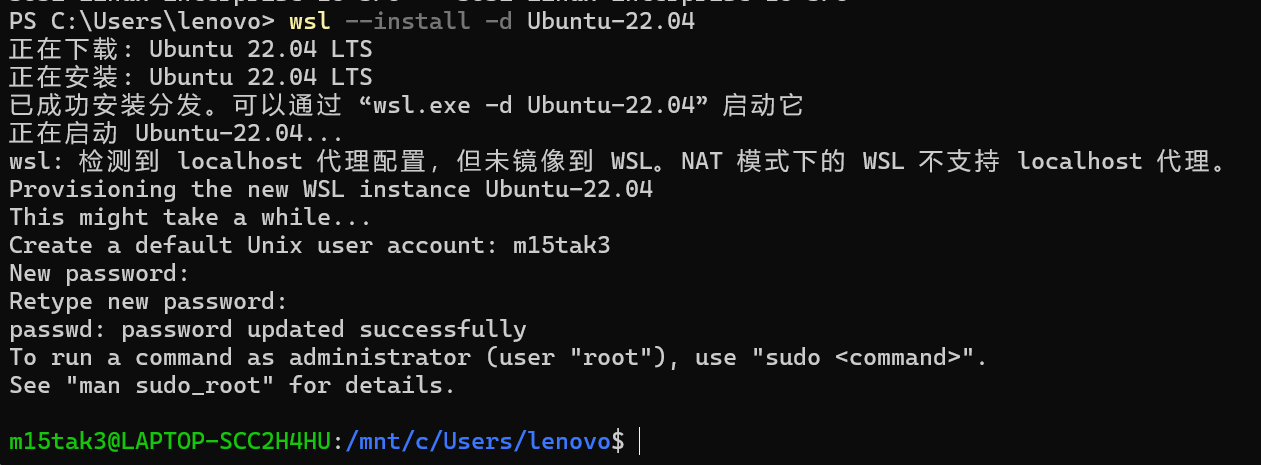
After installation, the subsystem starts automatically and asks you to create a username. Username rules vary slightly by distro; if your name is rejected, adjust it accordingly.
Move the Subsystem to Another Drive
By default, WSL installs distributions under drive C. If you want to move it, first run exit in the Linux shell.
Then shut down all WSL VMs and export the installed Ubuntu 22.04 for backup:
wsl --shutdown
wsl --export Ubuntu-22.04 E:\WSL\ubuntu2204.tar
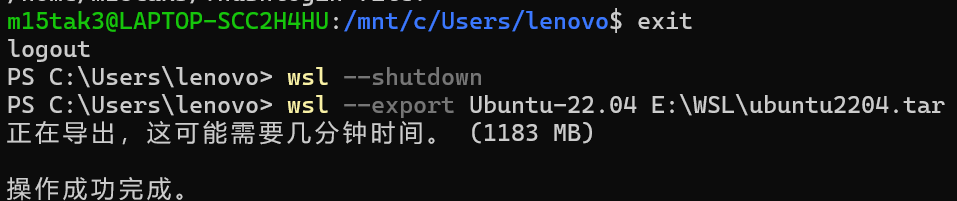
You can choose your own path, but the exported file must end with .tar.
Now unregister the current distro and import it to your target location:
wsl --unregister Ubuntu-22.04
wsl --import Ubuntu-22.04 E:\WSL\Ubuntu2204 E:\WSL\ubuntu2204.tar
wsl -d Ubuntu-22.04
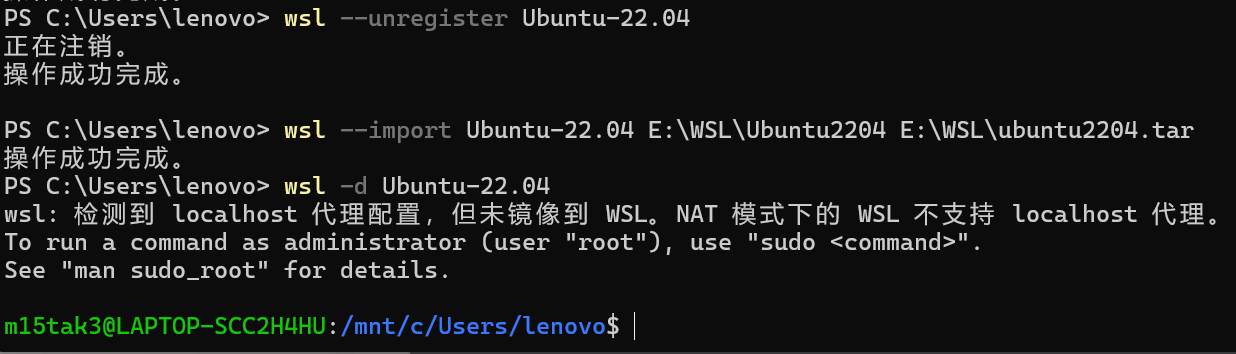
After that, the subsystem location is changed, and your files stay intact.

Leave a comment